
From eSUB to Sage - Create a PO in eSUB and have it push to Sage 300.
- Once a PO is pushed to Sage it will be locked from editing in eSUB.
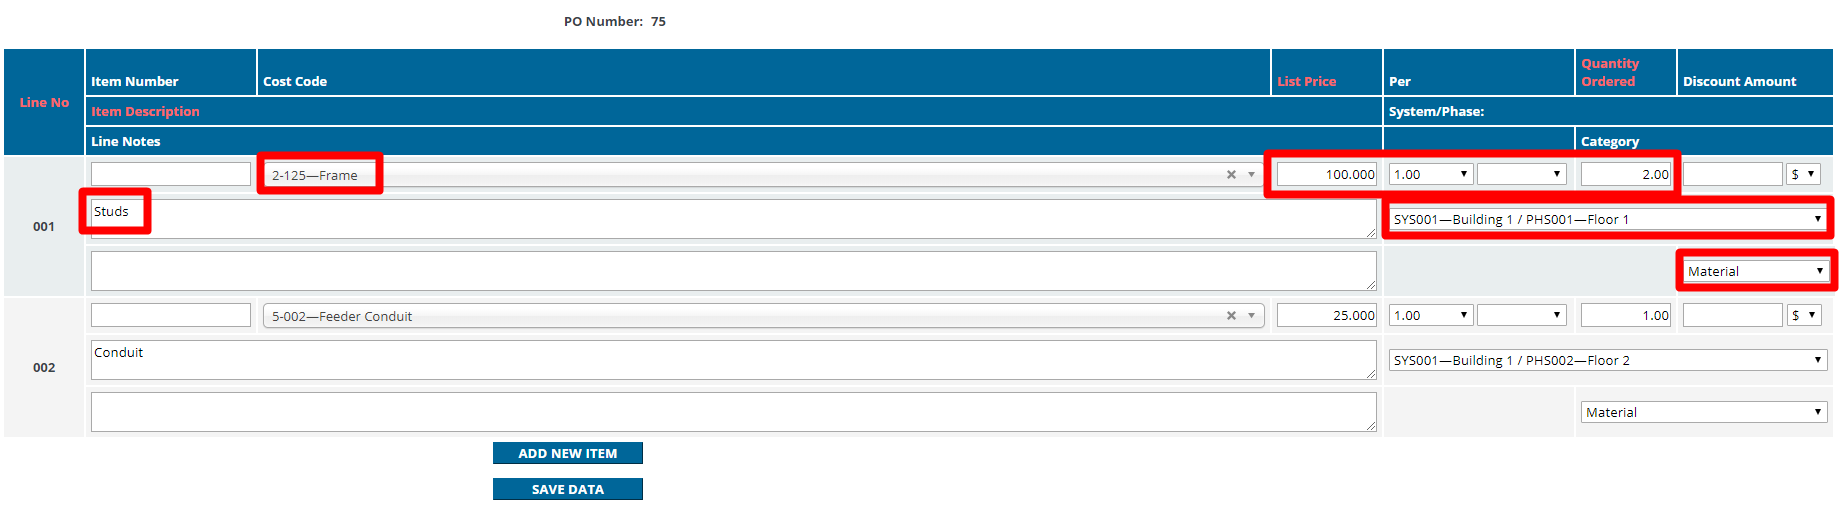
1. Create a new PO in eSUB.
2. Add Line Items - select a Cost Code, Category, and Phase (if applicable)
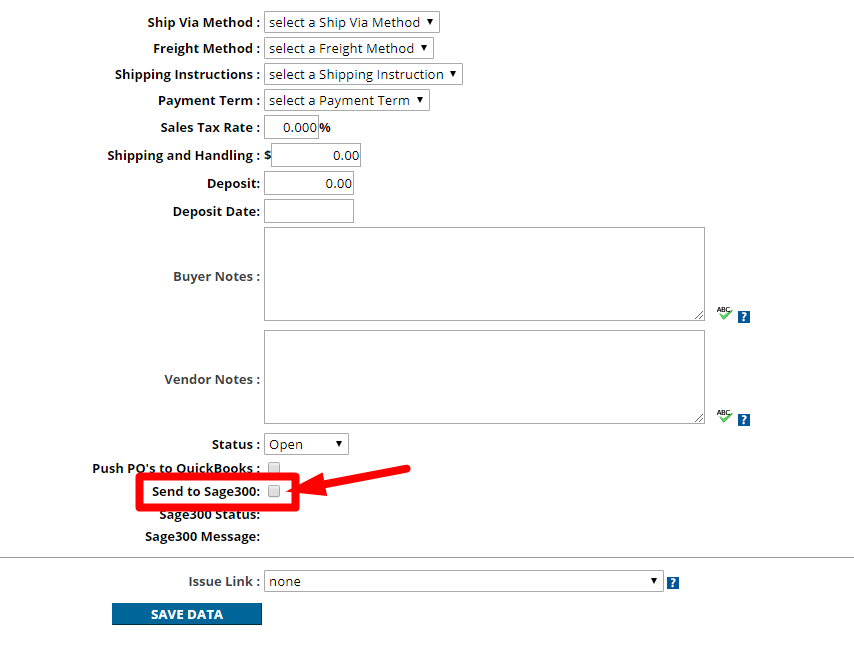
3. Edit PO → Check Send to Sage 300, then "Save Data"
|
NOTE: This process may take several minutes to complete and send to Sage. |
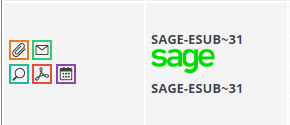
4. Check the PO Log after a couple minutes and the following Sage Logo shows that it has been synced.
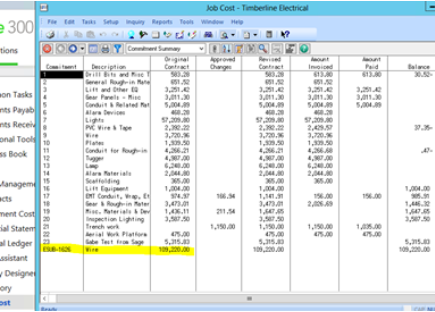
5. How to verify in Sage that it has been received as well. Job Cost Module → Inquiry → Committed Cost → Commitment Administration → Master
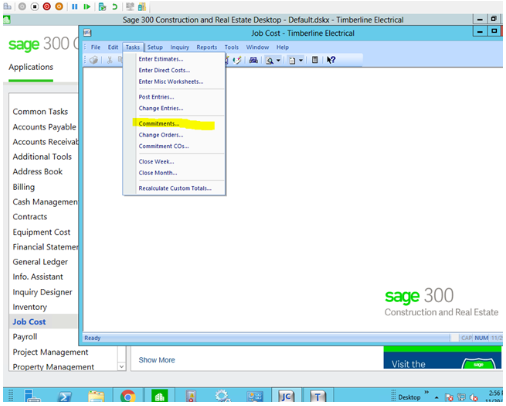
From Sage to eSUB - Create a PO in Sage and have it reflected in eSUB
- When it is received from Sage, it will be locked from editing in eSUB.
1. Starting from Sage: go to Job Cost → Tasks → Commitments.
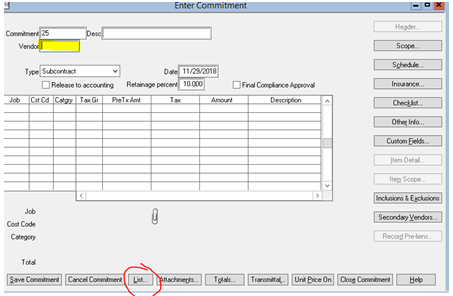
2. Select Vendor using the "List" button.
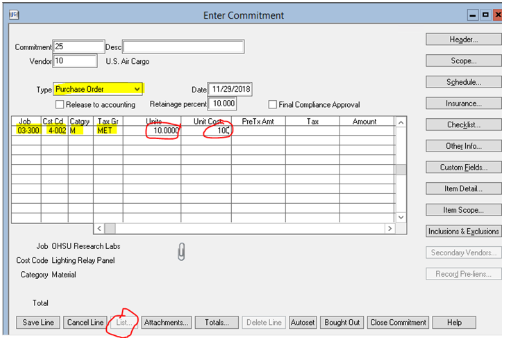
3. Select Type: Purchase Order
4. Select Job, Cost Code, Category, Tax Gr, using 'List'
5. Enter Units and Unit Cost
6. Click 'Save Line' and repeat 3-4 for all line items.
7. Click 'Save Commitment'
8. Click 'Finish'
9. Print to random junk folder (Sage makes you print.... "eye-roll")
10. Verify that info has shown up in eSUB
a. All Line Items and info is being sent over and can be seen in the view (magnifying glass)
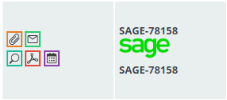
b. You will also see the 'Sage Logo' with Sage-#### next to POs that have synced from Sage.
How to update a PO Line item in Sage and have it reflected back into eSUB.
- Any PO that has been synced with Sage will be locked from editing in eSUB.
1. Starting from Sage: go to Job Costs → Tasks → Commitments
2. Click 'List' to find an existing Commitment that has been synced with eSUB
3. Change something on a PO Line
4. Click 'Save Line'
5. Click 'Save Line' and repeat 3-4 for all line items
6. Click 'Save Commitment'
7. Click 'Finish'
8. Verify that info has shown up in eSUB
a. All Line items and info is being sent over, and can be seen in the view (magnifying glass)
Comments
0 comments
Please sign in to leave a comment.